The Pencil Ogre & The Stone Cold Artist
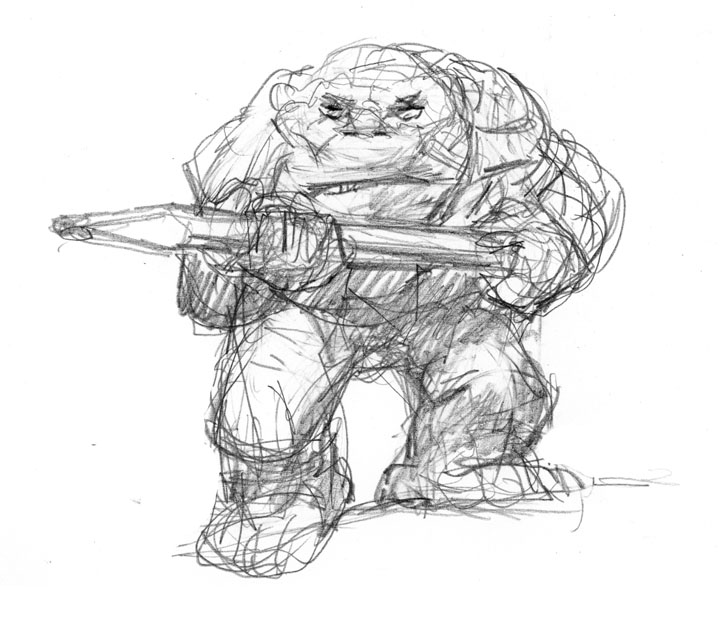
Above is the sketch. It appears in my new book OtherWorlds under the chapter “Sketching Your Ideas.” I think my title for this section was “The Mighty Pencil” but it was changed. The Giant Pencil Ogre is to remind us to start our idea sketches roughly because the sketchier we artists are the more ideas we’ll generate. The neater your initial drawings the more closed your mind will be.
(While I’m plugging my new book, click here to see a few pages from it. Once there, click on each picture to see the next. You’ll end with my web site open.)
* If you're not particularly familiar with Photoshop you should click on the picture above and take a look at the screen grab. Three of the pertinent areas are circled in red. I'd flattened the art for the Pencil Ogre but the Stone Cold Artist still had its layers seen in the palette on the right of the picture.
* If you're not particularly familiar with Photoshop you should click on the picture above and take a look at the screen grab. Three of the pertinent areas are circled in red. I'd flattened the art for the Pencil Ogre but the Stone Cold Artist still had its layers seen in the palette on the right of the picture.
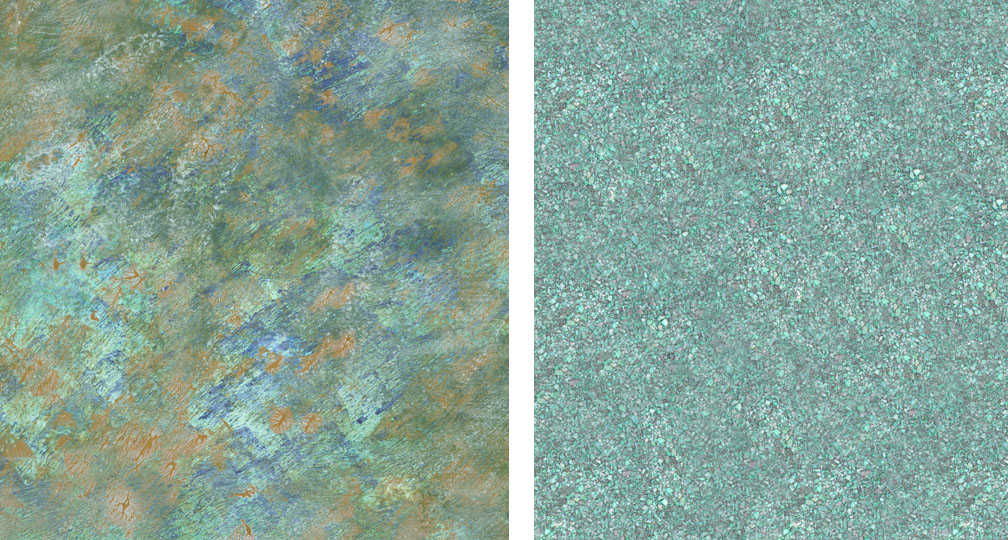
To start I opened my sketch in Photoshop and imported the painting texture and turned it into a “Multiply Layer.” Using the “Magic Wand” I selected the background of the drawing (the white around it) on its “Layer” and tweaked that by hitting the “Q” key to modify the selection then reversed it to select and mask the ogre. I kept that selection pretty loose though. Using the “Dodge” tool I lightened the texture behind the drawing, it being “Masked” and unaffected by any painting. Then I opened what I call ‘textures.’ These are scans of sections of paintings or interesting textural things I’ve photographed. Here are the two textures I used below. One is an underpainting and the other is a bunch of pebbles I saw and took a picture of. Each was changed a little in the process shifting the colors around for effect using Color Balance, Saturation and maybe a filter or two. Click on these two so you can see the textures better.
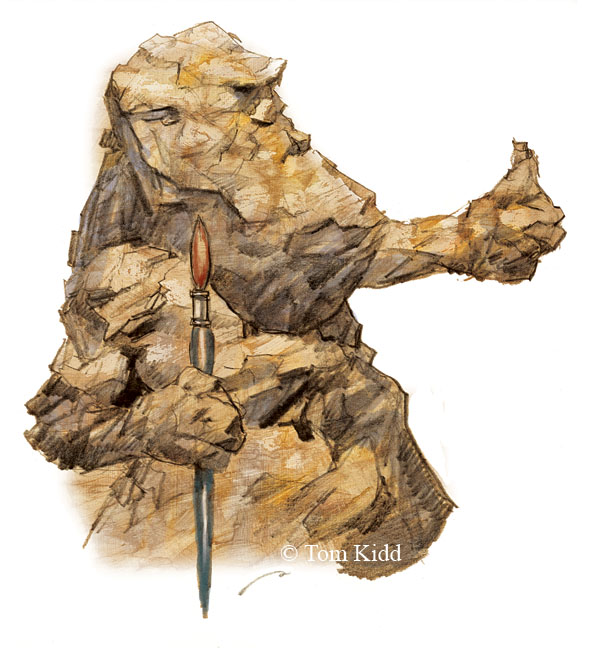
Using Photoshop’s “Rubber Stamp” (set to be pressure sensitive) I placed the cursor over each texture alternately and clicked. Once clicked, I switched to the drawing and “painted” my textures onto it wherever I touched my Wacom with its pen varying the pressure where it seemed wise. I think I used four or five layers alternating between “Normal” and “Multiply” layers – highlights where put down opaquely (Normal) while shadows went in transparently (Multiply). There are several ways you can set the “pen” but I used only Normal and Multiply. Mind you I was pretty tired when I did this so it’s possible I’m off in some of the details. After applying all of that I added a bit more shadows and highlights using the “Brush” tool. Below is the finished product, a pencil ogre splashed with color. Click on this fellow to better see his rough surface.
Well-trained, experienced digital artists may look at this and shake their heads at my lack of knowledge. Keep in mind I’m playing. It’s all in fun.


4 Comments:
Nice ! Thanks Tom. By the way - I'm the guy that got your spot at Illuxcon.
Thanks for that too. :)
larry
Can I have it back please? I kid. Thanks for stopping by.
Wouldn't he be Rock Hudson?
Ha! Thanks for stopping by. I love how wildly imaginative your work is.
Post a Comment
<< Home